Showing posts with label tutorial. Show all posts

Tutorial: How to fix your dried up gel eyeliner


Hands up who's excitedly bought a gel eyeliner after rave reviews which is now kicking about in the bottom of your makeup bag after it dried up and flaky?
 
Well all is not lost, it's actually really easy to bring your solid eyeliner back to a smooth spreadable solution.
 
You will need:
 
Your dried up eyeliner
Eyewash solution or contact lense solution
A mixing stick/Bobby pin (sterilised with boiling water)
 
 
1. Take your gel eyeliner and using your stick make a few holes in the dried up gel.
 
2. Add a few drops of whatever solution you have. I used some eyewash that I had in my medicine cupboard. DO NOT use water, it has all sorts of things in it that aren't good for your eyes - if you wear contact lenses you will probably have had this warning from your optometrist. Basically it's not sterile.

Start with just a few drops - I used 5
 
 3. Now mix together. This takes some time as the liquid will sit on top of the gel instead of just absorbing into it but persevere.
 
4. Test your eyeliner.
 
5. Keep adding a few more drops at a time and mixing until you get a consistency you like.  In the end I used 15 drops to get my gel eyeliner back to a usable state.


The line closest to my wrist is what I could just about manage to get the dried up eyeliner to do. Then I did a test line after every 5 drops and you can see how much better the final line is!  So go and fix your old eyeliner and save yourself some money :)
 
 
Please please please make sure whatever solution you use is safe for your eyes! You've only get one pair and they're delicate. An eyewash is suitable for your eyes (obviously) and I chose one suitable for use with contact lenses as they're generally gentler on eyes.


Love F*2DIY4 x
@fashiontodiyfor #fashionDIY

Fashion to DIY For's First Birthday!

 
Today is Fashion To DIY For's first birthday! And what a year its been.  There's been:
 
18 tutorials - including 4 for Oxfam Fashion
 
Thank you so much for all the follows, likes, tweets, retweets, favourites, pins, comments and page visits over the past 365 days :) It's been a great first year which wouldn't have happened without you, so have yourself some cake and keep on creating.
 
Love F*2DIY4 x
 
@fashiontodiyfor #fashionDIY


DIY: Honey Oat Body Scrub


At this time of year it's not unusual to start (or at least plan to start) taking better care of ourselves.  Weight loss, healthy eating and diet plans are all common New Years resolutions. But what about taking care of the outside of your body and removing all the crap that you come into contact with everyday? After all your skin is the biggest organ in your body!
 
Your store bought health and beauty products are packed with chemicals and compounds. Why not try a more natural approach to your outside as well as your inside?  We've been testing out some all natural DIY beauty remedies over the past couple of weeks and will be sharing the best recipes from our trial.
 
And to start you off here's a super quick and easy nourishing body scrub that you can make from items that you'll probably already have in you kitchen!
 
Honey Oat Body Scrub

Ingredients:
1 Cup coconut milk
1/2 Cup lightly ground rolled oats
1 tbsp honey
 
To make: Simply mix all ingredients together into a paste and you're ready to go.

To use: Take into the shower with you and rub all over dampened skin.  Leave to sit for a few minutes as the shower steams your skin.  Rinse off.

This recipe should make enough for 3-4 uses. Store in an air tight container in the fridge between uses.


All three ingredients are great natural moisturizers and oats also act as a gentle yet effective exfoliator.  In fact, oats also have anti-inflammatory properties and contain natural cleansers so they're pretty fantastic without a chemical in sight! Perfect :)

Let us know how you get on with your natural body scrub and we'll have more natural beauty DIY's on the way.

Love
F*2DIY4 x
@fashiontodiyfor #fashionDIY

Instagram - August Round Up

We've had a very busy August!  Here's some fashion DIY highlights from our Instagram account. Enjoy:


From top left going across the rows:
1. This 'Famous Frocks' was a gift from a friend and looks amazing. It has patterns for iconic dresses, like Marilyn Monroe's 7 Year Itch one and Audrey Hepburn's Breakfast at Tiffany's!
2. This months Charity Shop Haul. Remember to use #CharityShopHaul on Instagram and Twitter to share your bargain finds!
3. Our finished Crystal Skull Ring, which is nearly impossible to photograph because its transparent! Tutorial to make your own is here: http://goo.gl/RjnWBy
4. The first of our By Hand London Georgia Dress Pattern Hacks! Details on what we did can be found here: http://goo.gl/SIzrF4
5. And a photo of the back because you've just got to love that bow!
6. Technically not a fashion DIY, but this stylish Tunnock's Milk Chocolate Tea Cake coffee mug has really made the morning commute much more bearable. And it was new from a Charity shop!
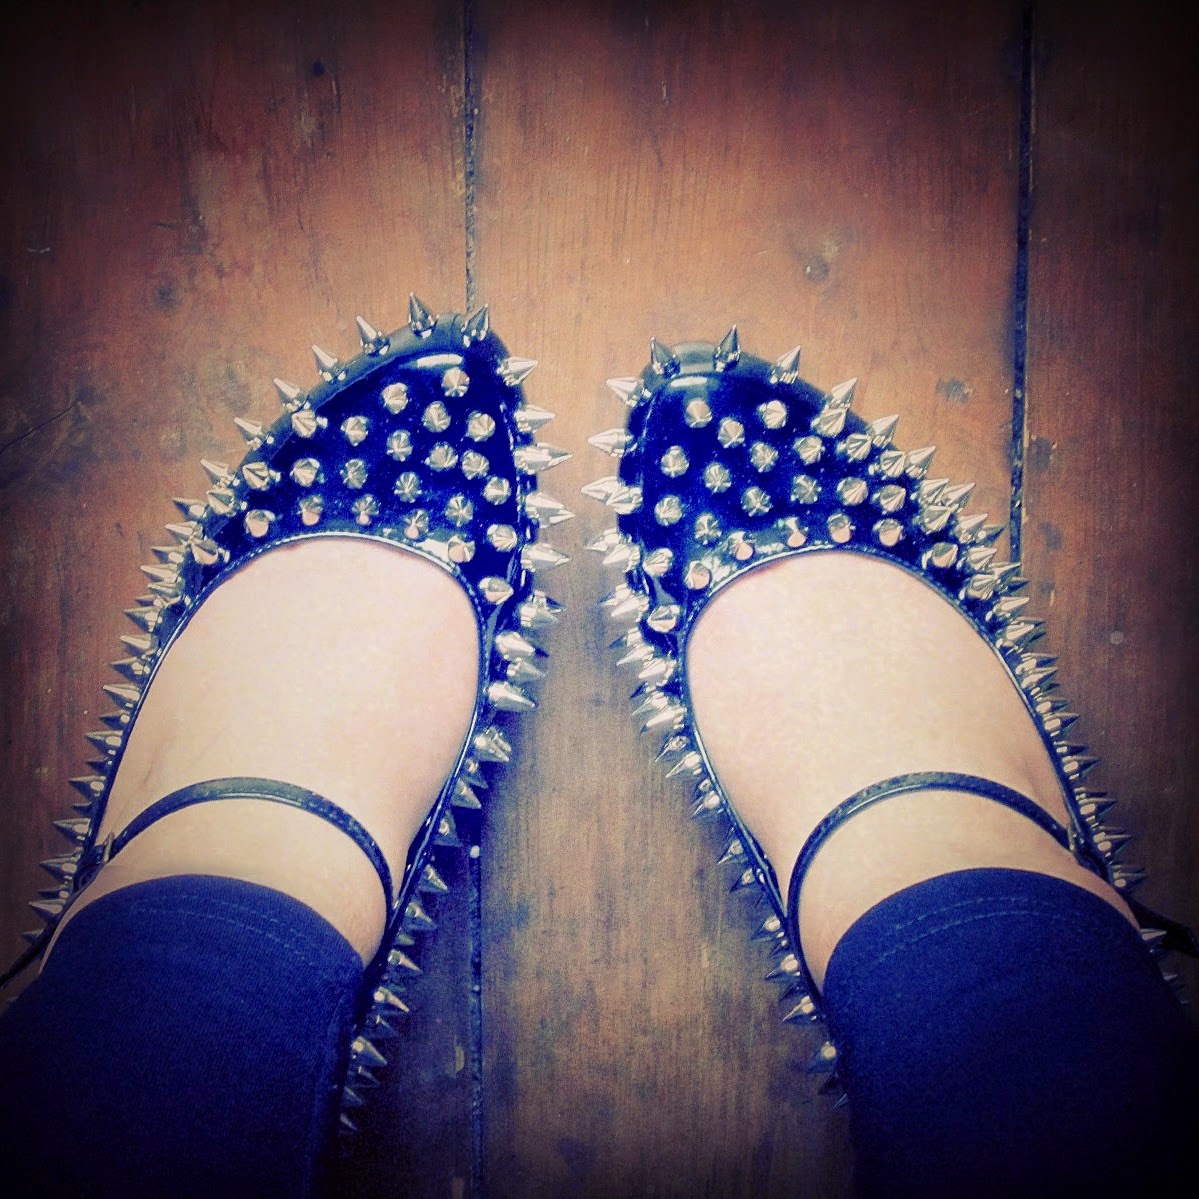
7. Statement Studded Shoes. Make your own with our fashion DIY tutorial: http://goo.gl/ZfTt16
8. Turquoise manicure with silver glitter accent nails. Very summery.
9. Our Black Tie Wedding Guest Evening Gown finished.  Made with turquoise lace and diamante beads.  We based this on a Badgley Mischka for Vogue V1374 pattern then altered it to fit our design. Find out more about what we did here: http://goo.gl/1qq7l6

 
Come join us on Instagram: fashiontodiyfor or use the tag #fashionDIY so we can find your makes :)

Love,
F*2DIY4 x
@fashiontodiyfor #fashionDIY

DIY: Crystal Skull Ring

Fancy a statement diamante ring? Follow our fashion tutorial to Do It Yourself:
(You can use whatever bead you want it doesn't have to be a skull)